
How’d you like to automatically trash any emails coming in from blocked contacts or email senders on your iPhone or iPad? If you don’t want to see unwanted emails from senders you’ve previously blocked in your inbox, you can make an adjustment to the iPhone and iPad Mail app that will take care of this pretty quickly. Then, no more emails from blocked senders will show up in your devices inbox.
Apple’s Mail app that comes pre-installed on iOS and iPadOS devices is widely preferred by users to keep themselves updated on their emails, whether it’s for work or personal use. It’s also deeply integrated into the system in the sense blocking a contact on your device will also block the email address that’s linked to the contact. Typically, blocking should prevent their emails from showing up in your inbox. However, by default, the stock Mail app just marks the email as sent from a blocked user and leaves it in your inbox with the rest of the emails.
If you’re looking to clean up your inbox by filtering out blocked emails, we’re here to help. Read on to learn how to set your iPhone to automatically trash emails from blocked contacts and senders with ease.
How to Automatically Trash Emails from Blocked Senders on iPhone & iPad
Setting your iPhone to automatically trash emails is actually pretty straightforward. Keep in mind that the following procedure only applies if you’ve linked your email account to the stock Mail app, and of course you’ll need to have blocked someone. Assuming that’s the case, let’s see how this works:
- Launch “Settings” from the home screen of your iPhone or iPad.

- In the settings menu, scroll down and tap on “Mail” to adjust your settings for Apple’s Mail app.
- Next, scroll down to the Threading category and tap on “Blocked Sender Options” as shown in the screenshot below.
- Now, you’ll be able to choose the option for blocked senders. Select “Move to Trash” and you’re good to go.
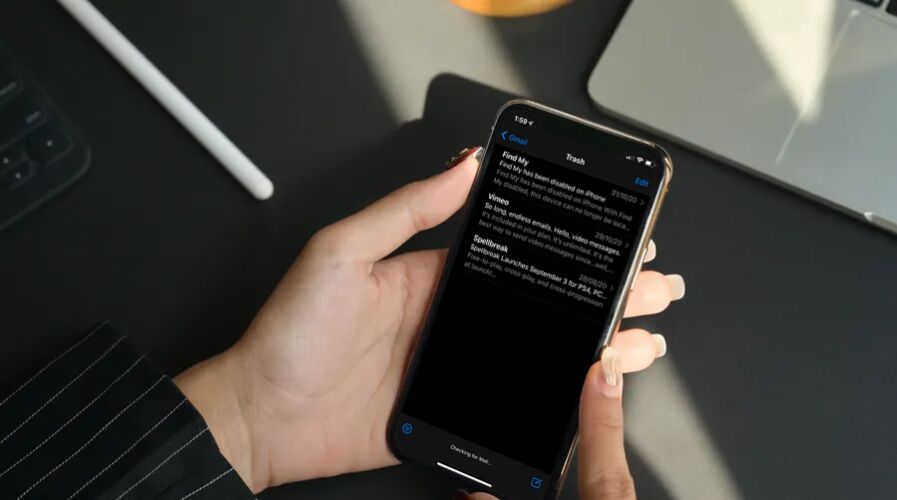
- To view emails from blocked senders for any reason, open the Mail app and go to “Trash” as shown in the screenshot below. This is the best way to filter blocked emails from your primary inbox.


Now you know how easy it is to set your iPhone or iPad to automatically move emails from blocked contacts and blocked senders directly to the Trash.
Thanks to this method, you can prevent unwanted emails from flooding your main inbox, but you can still view them separately if needed by going to your Trash folder (keeping in mind the Trash empties itself at varying rates depending on the email provider, some are instant in which case the blocked emails will forever be gone from your end).
Are you looking to stop spam and promotional emails? If so, you can try the unsubscribe option in Mail if it shows up, but there’s an alternate method you might be interested in too. You can mark an email as spam by moving it to the Junk folder on your iPhone and iPad. Doing this will automatically move all future emails from the sender to the Junk folder. To unmark emails as spam, you’ll need to move them from Junk back to your inbox.
If you’re haven’t added a blocked email address just yet, you may want to learn how to block a sender’s email address within the stock Mail app. If you block a contact and their email address is listed in their contact info, that will get blocked too of course. You can always manually manage your blocked list by heading over to Settings -> Mail -> Blocked if you want to remove anyone later on. And yes there is crossover between blocking and unblocking contacts, whether the sender is contacting you via text, messages, email, or calls, but sometimes it can take a while to unblock someone fully.
Now you know how to stop your iPhone from leaving emails from blocked senders in your Mail inbox. What do you think of this feature, and do use it often? Should it be easier to use, or should it be the default with blocked contacts also auto-deleting their emails too? Do you have another approach entirely that you’d like to share? Use the comments to voice your opinions and experiences!
Follow Me:
Top Best Sellers!!


