Want to Play Windows Games on Your Mac? You Need This App
Gaming on Mac can be disheartening, but a solution is at hand.
Quick Links
- Why Whisky Is Great for Mac Gamers
- How to Install Whisky
- How to Create a Bottle in Whisky
- How to Configure a Bottle in Whisky
- Troubleshooting Issues With Whisky
- My Experience Playing Games With Whisky
Apple fans have long yearned to call Mac their gaming platform of choice, but the number of games only available on Windows continues to be a problem. There’s a way to bridge that gap, though, with an open source and user-friendly app called Whisky.
Why Whisky Is Great for Mac Gamers
Thanks to the introduction of Apple Silicon processors, with impressive clock speeds and a built-in GPU, the performance of high-end games on Mac is impressive. Plus, with Sonoma’s Game Mode feature, the future is bright for Mac gaming.
Despite this, there’s still the lingering issue of developer support. While Mac gaming is being taken more seriously, ports for PC games are still few and far between, meaning emulation is a popular solution. It’s for this reason that Whisky, a fork of the popular Wine emulator, is worth checking out. It lets you emulate Windows games, including top-tier ones like Hogwarts Legacy and Horizon Zero Dawn.
Whisky has a terminal-free setup, a speedy and accessible interface, and the ability to create emulation profiles and presets. We’ll show you how to install Whisky and how to best use it to emulate Windows games.
How to Install Whisky
To install Whisky, you must have an Apple Silicon chip (M1, M2, or M3) and macOS Sonoma (version 14.0 or later).
To download Whisky, grab the latest version at the Whisky website.
Downloading directly through the website didn’t put Whisky on my Mac’s application list, so I recommend pinning it to your Dock for easy access.
Or, if you have package manager Homebrew, you can grab it directly through Terminal using this command: brew install –cask whisky
How to Create a Bottle in Whisky
Once installed, open Whisky and it will ask you to create your first bottle. Bottles are a feature that differentiate Whisky from other Windows emulators. They are contained profiles which you can attach a game or application to and then configure individually—beneficial when presets and settings work well for one game, but not for another.
To begin, click “Create Bottle.” Give the bottle a name, select the version of Windows, and the file path where you want the bottle stored.
How to Configure a Bottle in Whisky
Once you have created your bottle, select it from the left-hand list. This lets you assign a program to it, and to manage settings specific to this bottle.
If you haven’t already, download the game or application you want to emulate through Whisky. If an application is available for multiple systems, like Steam, you should get the Windows version.
Once downloaded, select “Pin Program”, click “Browse” to find the path that the executable was installed to, and give it a name. When done, click “Pin.”
There’s also a “Bottle Configuration” option if you wish to run the program under specific conditions, but I recommend using the default settings until you encounter issues that need addressing.
Once you are ready to run your application or game, press “Run.” It will likely go through the first-time setup wizard, as it normally would on a Windows machine. At this point, your game is now running through Whisky.
Troubleshooting Issues With Whisky
While most Windows games run without major issues via Whisky, it’s not guaranteed to be compatible with everything. Whisky’s documentation lists supported games, along with quirks to be aware of and settings you will need to apply. It’s not an exhaustive list, but it’s a good start.
If you find that your game is crashing or simply not opening at all, adjust Whisky’s bottle settings, or search online to see if anyone has encountered a similar issue. Some good first steps are changing “Enhanced Sync” from “MSync” to “ESync” and/or toggling “DXVK.”
For any other issues, browse Whisky’s startup guide.
My Experience Playing Games With Whisky
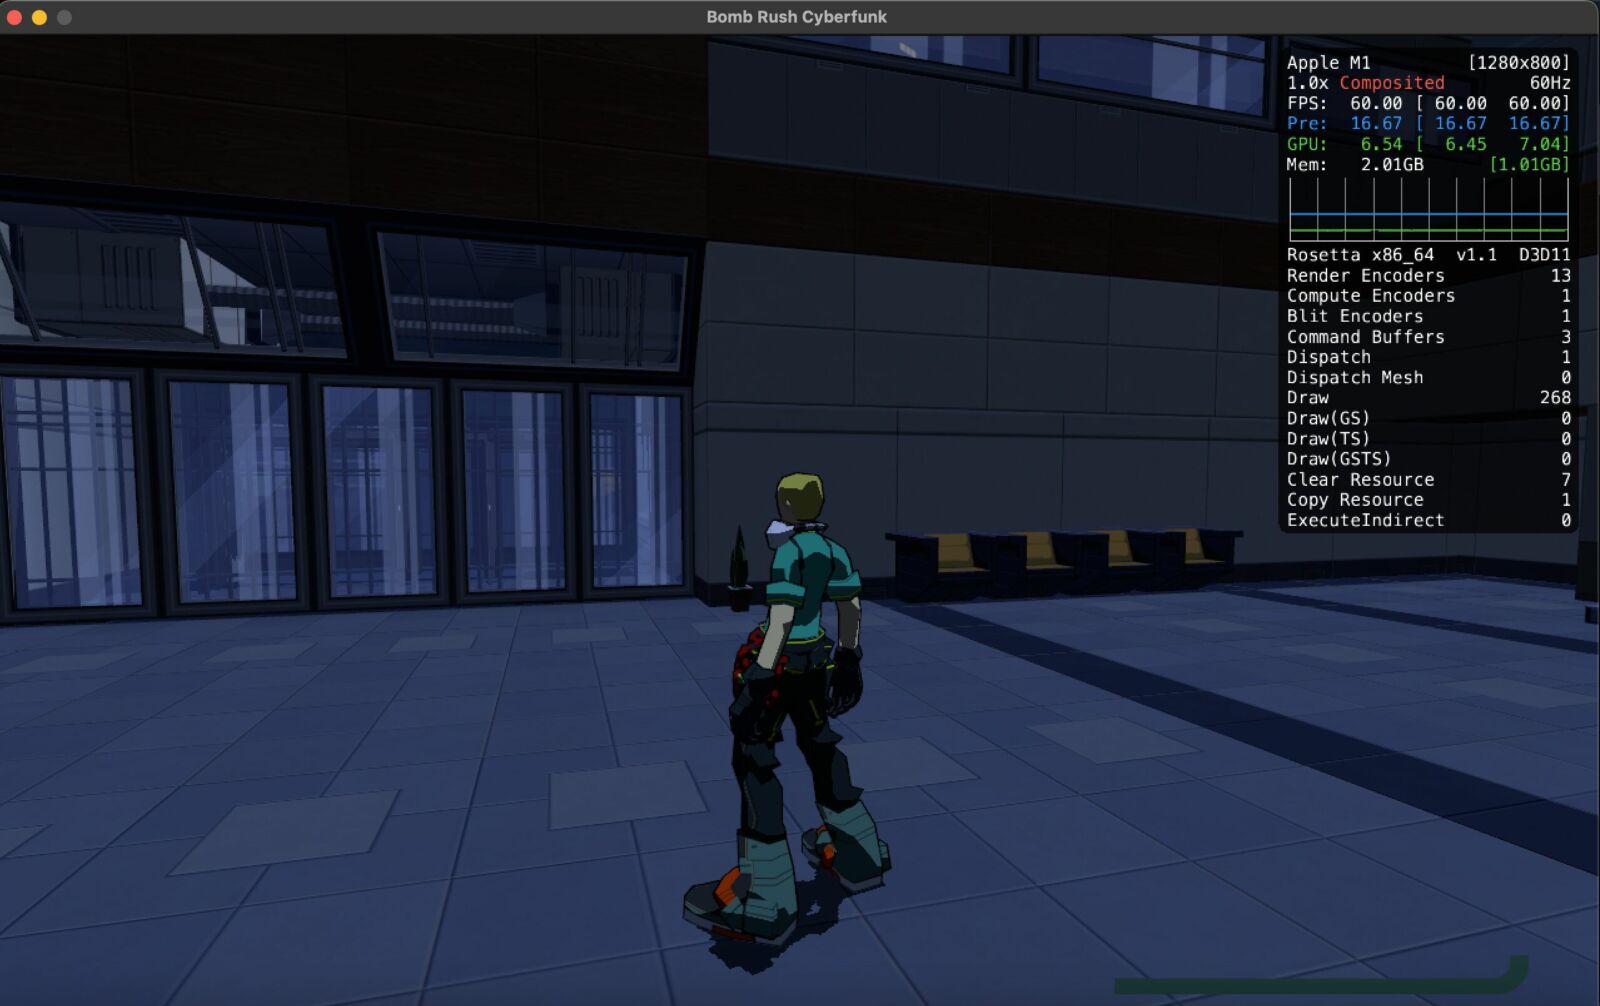
To test that my games were emulating correctly and to get some benchmarks on performance, I used three games: Persona 3 Reload, Bomb Rush Cyberfunk, and Hi-Fi Rush. These are mid-range games that aren’t particularly graphically intensive. I performed these tests on a 2020 M1 MacBook Air; models with M2 and M3 chips will likely see more impressive performance.
Bomb Rush Cyberfunk and Hi-Fi Rush ran excellently, with both hitting a consistent 60 FPS on high settings, and no noticeable graphical or gameplay-related issues.
For Persona 3 Reload, the game ran at a consistent 30 FPS, on medium settings. Unfortunately, overall performance was suboptimal, with noticeable screen tearing even with VSync enabled. Additionally, some UI elements were outright broken, like the settings menu, and tweaking the options in Whisky failed to resolve the issue.
Emulation can be a somewhat complicated process, but Whisky helps streamline it. It receives frequent updates, meaning that there is room for potential increases in game performance and compatibility in the future. I’m pleasantly surprised with how far gaming on Mac has come.
“Tech Bargains Galore: Where Innovation Meets Affordability!”


