How to Play Classic Video Games on Your iPhone for Free (Without Jailbreaking)
Here’s how to emulate the classics, right on your iPhone.
Quick Links
- Emulators Are Now (Officially) Available for iPhone
- How to Play Classic Nintendo Games With Delta
- Play With Touch Controls or a Controller
- Make Use of Delta’s Full Feature Set
- More Emulators Are Coming
Key Takeaways
- Emulators are now officially available for iPhone, legally, but you’ll need to supply your own games (and downloading ROMs you do not own is illegal).
- Delta is the first emulator on the App Store, a multi-system emulator that targets Nintendo platforms like the Game Boy, SNES, and N64.
- Transfer games to Delta via cloud, AirDrop, or USB connection, and play using touch controls or a controller.
The days of jailbreaking your iPhone to play emulated games are over. Here’s how easy it is to play retro games on iOS and iPadOS, for free.
Emulators Are Now (Officially) Available for iPhone
In April 2024 Apple sent an email to developers informing them of several changes to what is and isn’t permissible on the App Store. This included allowing “retro game console emulator apps” for the first time. Before the change, installing emulators required a jailbreak or building and sideloading the app yourself.
Though emulators are legal, the games they run are a point of contention. It is illegal to download ROMs for games that you do not own. Downloading or ripping ROMs for titles that you do own is a grey area. You are responsible for following the laws in your part of the world.
Emulators you download from the App Store will not come with any copyrighted materials. That means no ROMs will be included, so you’ll need to source and import games on your own time. Any additional files required to make a platform run (like BIOS images) will also need to be provided by you, legally.
So why the sudden change? Apple is probably jumping before it is pushed. The EU has mandated that the iPhone open up to third-party App Stores, so Apple may be trying to avoid future problems. There’s also nothing inherently illegal about emulators, even though big players like Nintendo are vehemently opposed.
How to Play Classic Nintendo Games With Delta
Speaking of Nintendo, the first emulator to arrive on the App Store is Delta, a multiple system emulator that includes cores for the NES, SNES, Nintendo 64, Game Boy (Color), Game Boy Advance, and Nintendo DS. There are also plans to support the Sega Genesis in a future update.
Delta brings together many different emulation projects like Nestopia, Snes9x, mupen64plus, and melonDS under one simple application. The project is a spiritual successor to GBA4iOS, an emulator you may have heard of if you’ve dabbled in the iOS emulation scene before.
You can download Delta from the App Store for iPhone, though it also works on iPad and macOS. As per Apple’s guidelines, the emulator doesn’t come with anything in playable form. You’ll need to supply your own ROMs, which you can transfer using a variety of methods.
Transfer Games via Cloud Storage
You can transfer ROMs easily using a cloud storage platform of your choice. First, upload your ROMs in their native (unzipped) format, making a note of the location. Tap on the plus “+” icon in the top-right corner of the Delta app and select “Files” from the pop-up menu.
Now navigate to wherever your ROMs are located. iOS lets you access local files, the contents of iCloud, Dropbox, and even some remote storage locations using services like TeamViewer. If you don’t know where something is, you can always search for it at the top of the screen.
You can also open the relevant app on your iPhone (you’ll need to do this for Google Drive and cloud storage providers that don’t integrate with Files). You should be able to tap on a ROM file to automatically have it open in Delta. If you have more than one app that can handle that file type, you’ll be asked which app you want to use.
Transfer Games via AirDrop
AirDrop works in much the same way. Simply find the native ROM file on the device you want to AirDrop from (like a Mac) and send it to your target device. The file will be saved in your device’s Downloads folder. Use Files to find Downloads, tap on the ROM and it will open in Delta (or prompt you to select an app, after which you can choose Delta).
The game will now be added to Delta and you can delete the file from your Downloads folder.
Transfer Games via USB
Alternatively, you can plug your iPhone into your Mac or Windows PC and transfer games locally over a USB connection. On a Mac, you will use Finder, while Windows users will need to download and install iTunes.
With your iPhone connected, make sure you trust the connection when prompted on your iPhone, then open Finder or iTunes. Select your device either in the sidebar on a Mac or by clicking the device icon at the top of the screen in iTunes. Now select “Files” or “File Sharing” from the list of options.
Find the Delta app and drag and drop your ROM files over. They should be copied to the root folder. Now open Delta and tap on the plus “+” icon in the top-right corner of the screen. Select “iTunes” and then tap “Import” when prompted and Delta will ingest the ROMs into its database.
Play With Touch Controls or a Controller
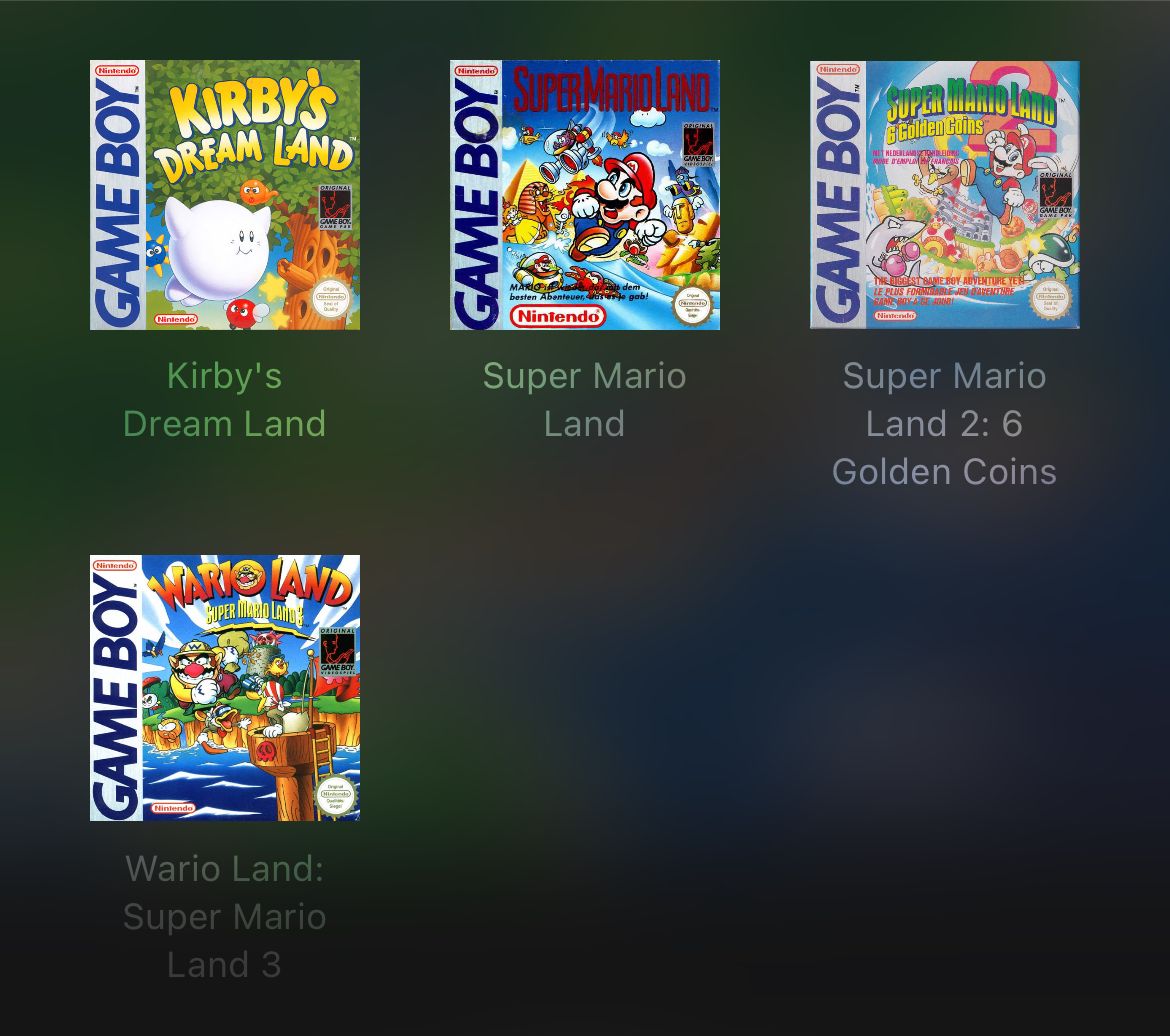
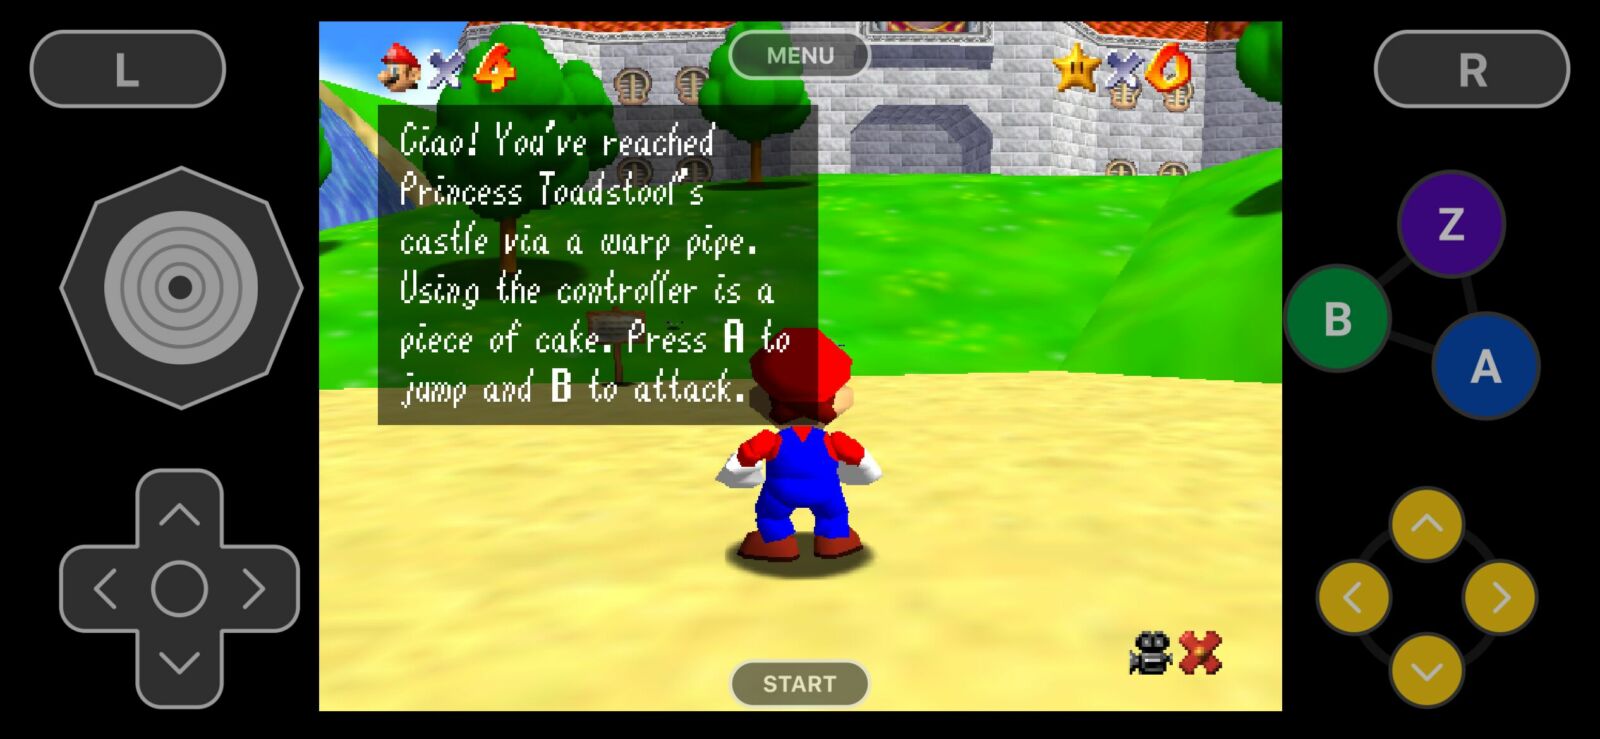
With your games transferred, you can start playing by tapping a title. Swipe left and right to change platforms and find other ROMs. Delta will default to touch controls, which places a virtual controller on the screen. This works about as well as you’d expect. It’s fine for some games, passable in others, and not so great when precise input is required.
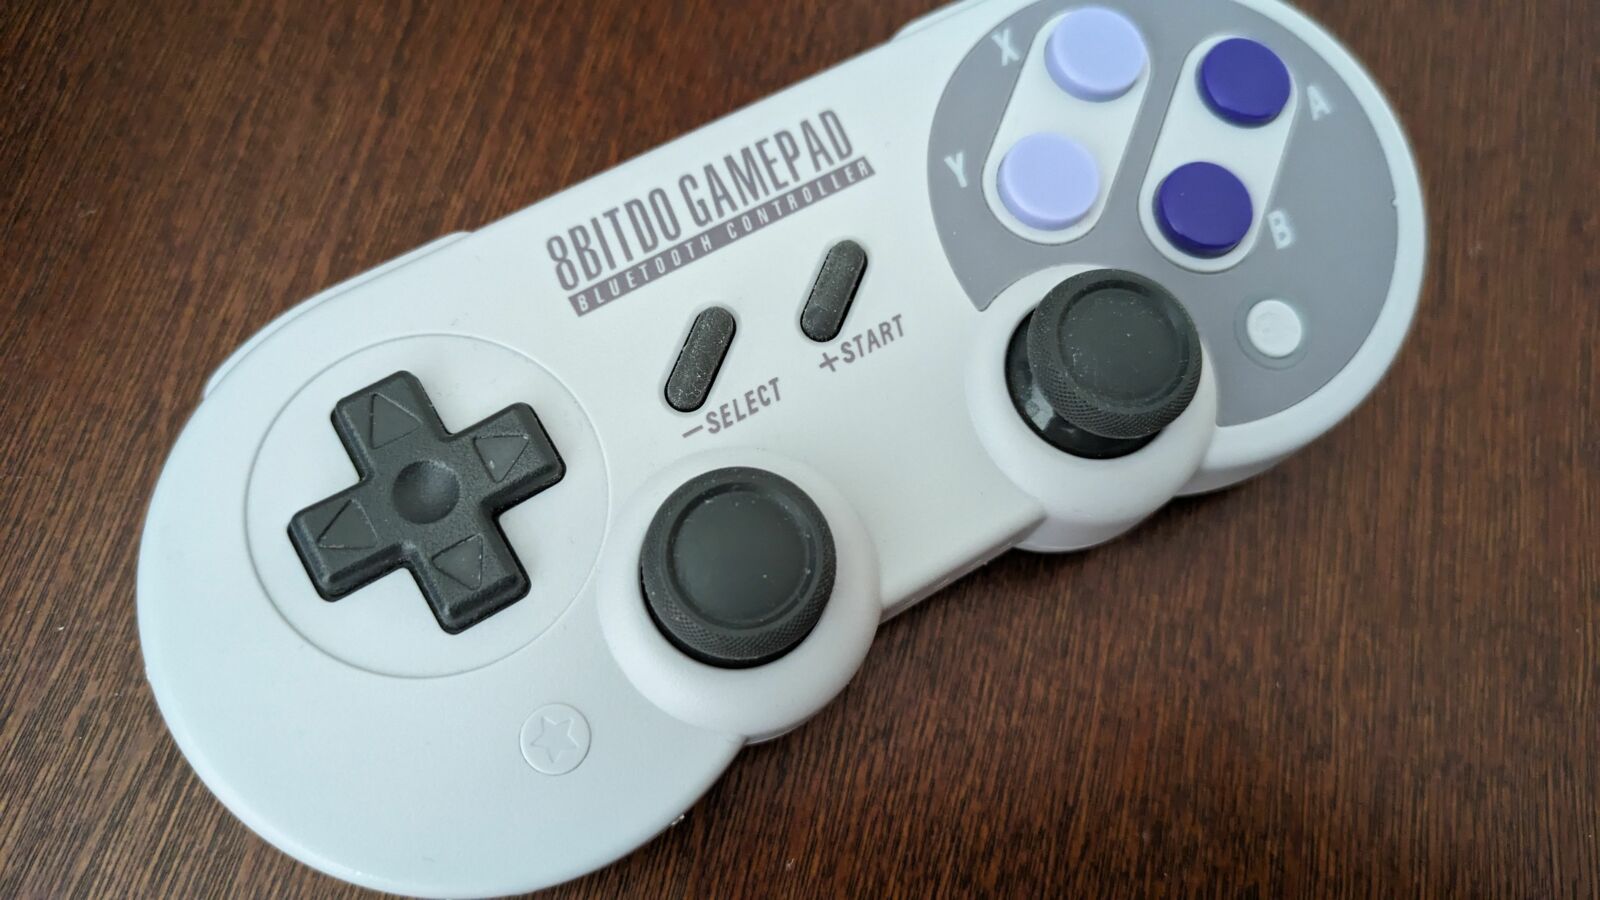
For a better experience, we recommend connecting a controller. iOS supports a huge number of Bluetooth game controllers, from Xbox One and Xbox Series (Core) controllers to the DualShock 4 (PS4) and DualSense (PS5). There are plenty of others to use from brands like 8bitdo to SteelSeries, just look for the “Made for iPhone” branding.
To pair a controller, put your controller into pairing mode (usually by holding down the power button, as is the case with Xbox and PlayStation pads), then head to Settings > Bluetooth. Wait for the list of devices to refresh, and then tap on your controller when it appears. It should pair automatically and be ready for use immediately.
Now head back to Delta and tap on the “Settings” cog in the top-right corner of the screen. Under the “Controllers” section you can nominate a control scheme for each player. Tap on “Player 1” and choose the controller you’ve just connected to use it.
For best results, a controller clip will allow you to mount your iPhone on top of your controller for a comfortable portable experience. You can also purchase controllers like the Backbone or Razer Kishi which turns your iPhone into something that resembles a Nintendo Switch, providing the most comfortable playing experience.
Make Use of Delta’s Full Feature Set
Delta is packed with extra features, many of which you don’t need to activate. For example, artwork for any games you add should be automatically downloaded. You can always tap and hold a game and then choose “Change Artwork” to nominate your own.
While in a game, the “Menu” button provides access to some more advanced features, like save states. A save state is a common emulator feature that allows you to save and load the game anywhere, and resume at any point. This is especially useful on an iPhone where you may need to suddenly stop to take a call. Tap “Save State” then use the “plus” + button to add one.
The “Menu” button also hides a few other features, like a “Fast Forward” option for skipping ahead, a “Hold Buttons” option for automating certain operations, and the “Cheat Codes” section which allows you to use Game Genie or GameShark cheat codes in your games.
If you prefer to use touch controls, you can install custom controller skins from the Delta Skins repository. You can transfer these as you would a ROM, opening the file in the app or using the “iTunes” import option once you’ve transferred via a cable.
Delta supports multiplayer play, but you’ll need controllers to make this happen. You can define who gets which controller under the “Settings” cog by tapping on a player identifier and then choosing the appropriate controller.
You can also set up a Delta Sync under “Settings” which not only syncs your game library but all of your game saves, save states, controller skins, cheats, and controller mappings. Toggle “Delta Sync” on then use the Dropbox or Google Drive buttons to link your cloud storage account.
Lastly, you can customize your Delta home screen to either show what you’ve recently been playing or a selection of your favorite games. This can be particularly handy when your collection grows to an unwieldy size. Head to “Settings” and tap “Home Screen Shortcuts” to get started.
More Emulators Are Coming
Delta is likely the first of many emulators to come, considering the appetite for more systems now that the App Store floodgates have been opened. With a focus on mostly older platforms, Delta performs nearly flawlessly on most modern iPhone models.
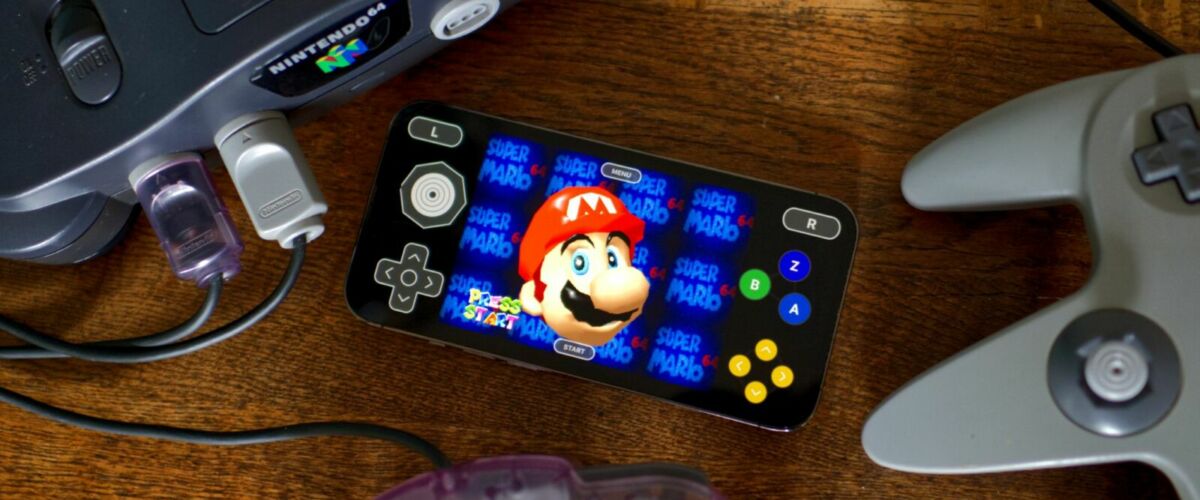
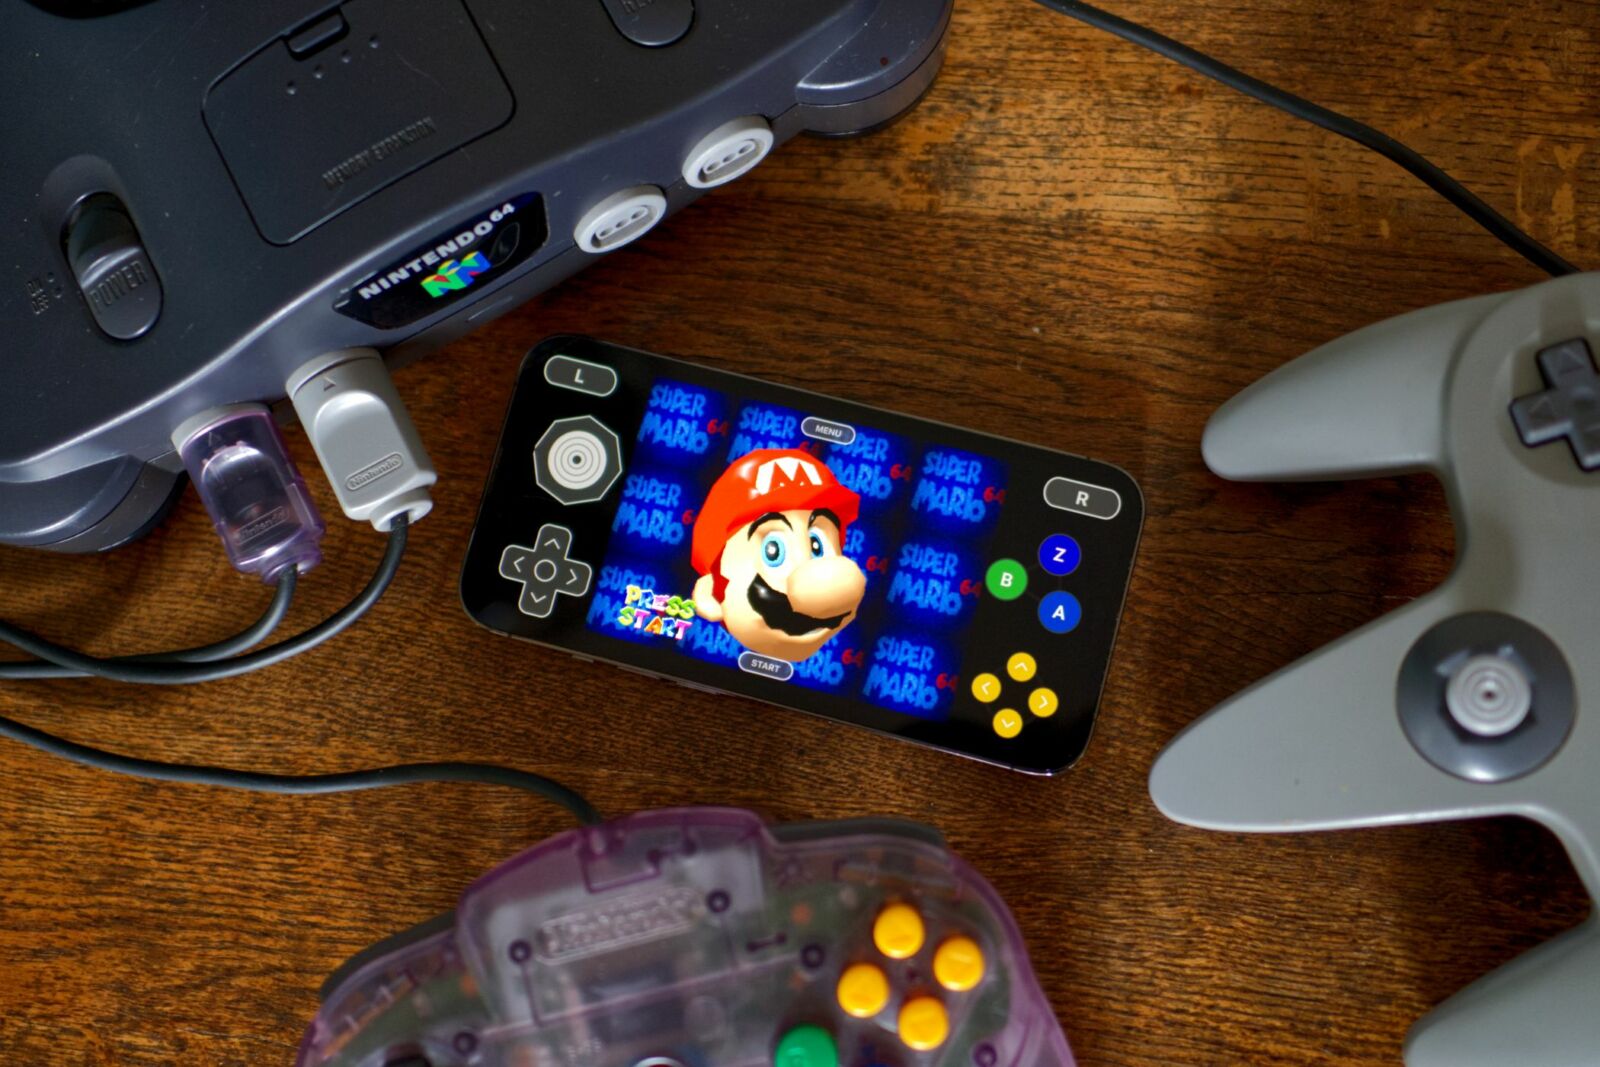
We tested the emulator on an iPhone 13 Pro and encountered no slowdown, even in more demanding titles like Super Mario 64. It’s an exciting time for emulation if you’re an iPhone owner.
“Tech Bargains Galore: Where Innovation Meets Affordability!”

