
Some users of OS X Yosemite have found the Macs new system font, Helvetica Neue, looks blurry and is generally harder to read than Lucida Grande, the system font it replaced. The blurred fonts are sometimes able to be reproduced in screenshots but usually they show up looking normal, which makes demonstrating this issue a challenge for those impacted by it. It’s hard to know if this is because of a bug, differences in individual displays and monitors, a result of the font face itself, the generally smaller and thinner font size, or the level of text antialiasing used, but manually adjusting the latter by tweaking font smoothing settings can be helpful for some users who are having trouble with the fonts appearance, particularly if the font looks blurry or fuzzy to you on a Mac with a non-retina display.
We’re going to cover a few options and you’ll have to try them yourself to see which looks best for your eyes and your display. Some users report that fonts look best with the LCD Font Smoothing feature turned off completely in OS X Yosemite (which actually just reduces the level of antialiasing, rather than disabling it), while others may prefer the look of a modified level of antialiasing. After trying them out, you may even decide the default setting is the best, which is why you really need to see how they look on your own display, it’s going to be different for everyone.
The differences are subtle, and some users probably won’t notice much of a change at all. This animated GIF cycles between the three options available; default, modified, and none, which gives an idea of how minute the antialiasing settings changes really are:

In full size screen shots, here is the default font smoothing option:

Here is the modified font smoothing option (set to 2):

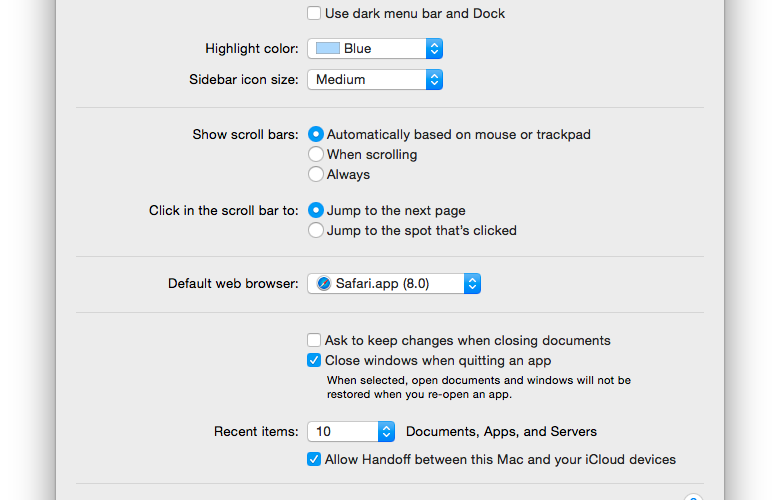
Here is the font smoothing disabled option (which isn’t really disabled, it’s just minimized):

Subtle, right? It certainly looks that way in screenshots, but on some displays these minor changes can have a notable impact on how text looks on screen in Yosemite, so try out each setting yourself and see what you think.
Disable LCD Font Smoothing in OS X Yosemite
Antialiasing onscreen fonts and text has been a part of the modern OS experience for well over a decade, but something is different in Yosemite is different and in some situations it seems to cause fonts to look blurry our out of focus rather than smoother. If you find that to be the case, try disabling the setting:
- Open System Preferences from the Apple menu and go to “General”
- Uncheck the box for “Use LCD font smoothing when available” at the bottom of the preference panel
- Log out and log back into the user account for changes to take effect everywhere
The downside to this is that fonts may appear a bit more jagged and perhaps even thinner, so it’s a bit of a tradeoff.
Another option is to change the font smoothing setting in OS X by turning to the command line. This used to be an easy to use menu in the General preference panel but Apple removed the option to adjust this through the preferences a while ago, making it necessary to use a defaults string to modify AppleFontSmoothing behavior instead.
Change Font Anti-aliasing & Font Smoothing Strength in OS X Yosemite
Changing the font smoothing strength requires using the Terminal app and defaults command strings. Having tested this for a while in Yosemite, it appears there’s only really three options available in Yosemite, regardless of the integer number attached to AppleFontSmoothing. OS X Yosemite defaults to using AppleFontSmoothing “3”, and there does not appear to be any visible difference between setting it to “2” or “1”, which in either case results in a lighter font smoothing setting than the default. Setting it to “0” is the same as turning it off in the preference panel, which again, doesn’t completely turn off font smoothing, it just reduces it to an even lower strength of antialiasing.
Set a Softer Font Smoothing Setting
Enter the following defaults string into the Terminal and hit return:
defaults -currentHost write -globalDomain AppleFontSmoothing -int 2
You’ll want to log out and log back in for the change to appear everywhere.
It’s important to note the differences are subtle, and many users probably won’t be able to distinguish one from the next. If you have a retina display, anything other than the default option may look poor to you.
Return to the Default Font Smoothing Setting
Using either of the following defaults commands returns font smoothing to the default:
defaults -currentHost write -globalDomain AppleFontSmoothing -int 3
Or use a defaults delete string:
defaults -currentHost delete -globalDomain AppleFontSmoothing
You can also simply go into System Preferences, toggle LCD font smoothing to OFF, then turn it back on within that preference panel. Follow this up with a log out and back in (or reboot).
This combined with using the Increase Contrast setting helps to make things a bit more readable in OS X Yosemite for some Mac users, though based upon comments, emails, and reviewing a wide variety of forums, many users are going to desire something akin to the iOS bolding fonts function for the Mac, if not an ability to actually increase the font sizes in use, also similar to what iOS offers.
If you’re bothered by the way text looks in OS X Yosemite, perhaps the best thing to do is let Apple know your thoughts through their official online feedback form for Mac OS X here.
Follow Me:
Top Best Sellers!!


