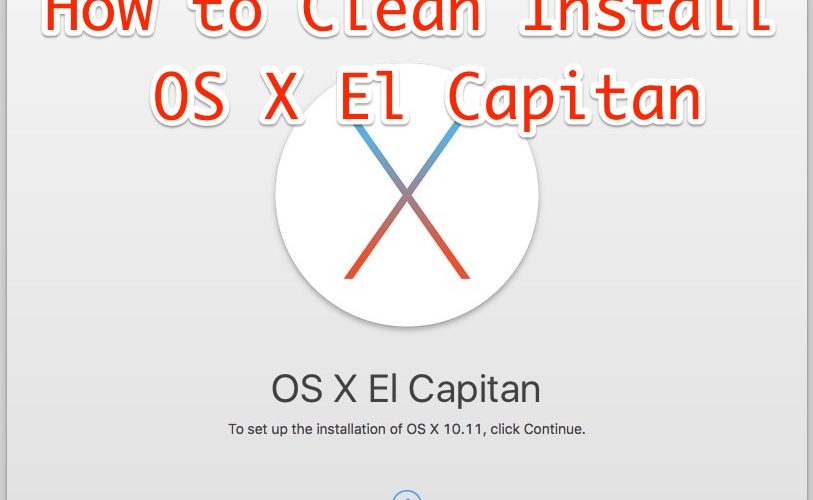

Some Mac users may like to perform what is known as a clean install with OS X El Capitan. Basically, a clean install involves erasing the Mac drive and starting fresh with a new installation of OS X 10.11, and users who opt for clean installs usually rely on their own personal backups to restore their personal file and data.
While most Mac users are well served by running the normal update process to OS X El Capitan after it has been downloaded from the Mac App Store, this guide is for users who want to start fresh.
You will need to have made a bootable OS X El Capitan installer drive with a USB flash key to perform a clean install. If you have already installed OS X 10.11 on the Mac, you can download it again and create a boot installer with these instructions.
Remember, a clean install will erase everything, format the hard drive, and then install OS X El Capitan with nothing else on the Mac. If you are choosing to do this, you need to backup your data yourself, as erasing the volume and performing a clean install means nothing is coming with it. This is generally best for advanced users. If you don’t know what you’re doing with a clean install, and you have not made backups, don’t try this, you will lose data.
How to Clean Install OS X El Capitan & Start Fresh
- Start and complete a backup with Time Machine before beginning. Alternatively, perform your own backups manually. Be sure to back up your important files, pictures, data, or whatever else – do not skip this. Performing a clean install will erase the Mac and you will lose any data you do not save to an external volume
- Connect the bootable USB El Capitan install drive to the Mac, then reboot the Mac
- After you hear the boot chime, immediately start holding the OPTION key during boot, continue to hold until you see a boot loader menu appear, at this screen choose “Install OS X El Capitan”
- At the “OS X Utilities” screen, select “Disk Utility”
- Select “Macintosh HD” (or whatever the name of the target Mac drive), then click on the “Erase” button
- Give the drive a name or keep it the same, and under “Format” choose “OS X Extended (Journaled)”, then click on “Erase” – THIS ERASES EVERYTHING ON THE MAC, THIS IS NOT REVERSIBLE
- When the drive is finished erasing, quit out of Disk Utility to return to the “OS X Utilities” screen
- Now choose “Install OS X” from the menu, click Continue
- Agree to the terms, and choose “Macintosh HD” (or matching whatever the name you formatted the drive to) from the list and click on “Install”


That’s it, OS X El Capitan will perform a fresh installation on a now empty hard disk volume that you just formatted. Completing a fresh installation of OS X 10.11 can take a while, so be prepared for at least 30 minutes to several hours, depending on the speed of the drives in use.


When finished, OS X El Capitan will boot into a brand new clean install, running through the initial OS X setup process on the Mac as if the Mac was brand new. No files, no data, nothing will be on the Mac except for what comes with OS X El Capitan, that is what a clean install is for.
Now you’re ready to manually move your files and data back to the Mac, or start as new with nothing on the Mac, whatever works for you.


