
Are you concerned about duplicate files on a Mac? While most Mac users shouldn’t be bothered by duplicate files as it’s likely that very few if any exist, there are situations where they can be found, thereby adding unnecessary clutter to a Mac file system. For example, the user ~/Downloads folder is a common place for duplicate files to exist, usually from when someone downloads a file, picture, zip, movie, installer, or app from somewhere, forgets about it, and then proceeds to download the same item yet again, thus creating a duplicate of the same file. Or maybe you just frequently make copies of files and they slowly accumulate over time, whether needed or not.
This guide will demonstrate a method for how to find duplicate files on a Mac.
This tutorial is intended for advanced users, and requires significant attention to detail to properly find and confirm if files, images, movies, archives, and other data are indeed duplicates or not. The article will use a free third party tool called DupeGuru to track down duplicate files on a Mac. And not that we’re covering Windows here, but DupeGuru is available for that Mac, Windows, and Linux, so if Mac is not your only computer then you can use the same tools elsewhere.
Dupeguru is a very powerful tool for finding duplicate files of all sorts, and by using a variety of different search methods, but for our purposes here we’re going to keep the usage as simple as possible. We will not be demonstrating how to edit or delete any of the files found because every file should be independently confirmed as a duplicate before action is taken.
How to Find Duplicate Files on Mac with Dupeguru
Back up your Mac with Time Machine or your backup method of choice before beginning. Failure to backup could lead to permanent data loss.
- Get DupeGuru here by downloading it from the developer
- Mount the image and open Dupeguru*, optionally copy it to your /Applications/ folder to install it on the Mac
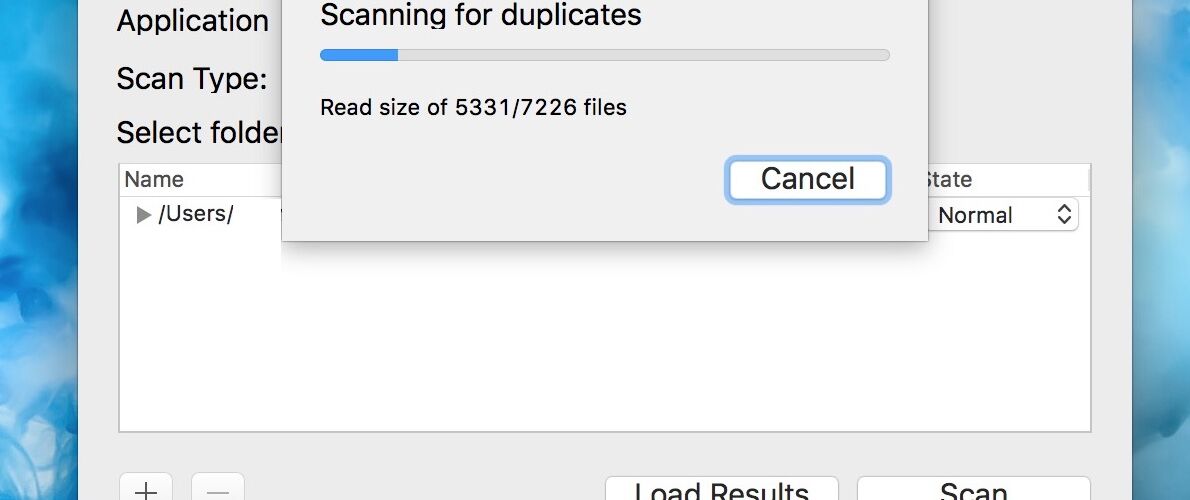
- Select a specific folder, or drag a directory into the Dupeguru window then choose “Scan” – DO NOT SELECT YOUR ENTIRE HARD DRIVE **
- Let the scan complete, it may take a while depending on the size of the directory being scanned for duplicates
- When finished scanning the directory, a list of potential duplicates will appear on screen


You’ll notice that any found duplicate items, files, pictures, zips, archives, etc will appear as a name with an intended potential match underneath each entry. Pay special attention to the “Match %” chance, as generally you’ll want to ignore anything that is not 100%.
You can double-click any item – original or duplicate – to open it in the Finder, or open it within its own default app. For example if you double-click a text file it will launch into TextEdit.
Dupeguru allows bulk action for deleting, moving, or copying any found duplicate files, but because of the potential to accidentally remove or permanently delete data, we’re not focusing on that here. If that interests you, go to the ‘Action’ menu after you have successfully found duplicates in a directory.
Caution: Always Confirm Duplicate Files Before Modifying, Moving, or Removal
You should manually double-check to confirm every single set of duplicates found, particularly before taking action on the files in question.
Absolutely do not delete or modify any duplicate files without knowing for certainty what the file(s) are and if you need them or not.
Also, do NOT delete or modify any files labeled as duplicates without backing up the Mac and the files in question.
If you don’t manually confirm duplicates, or you fail to backup, it’s possible you will remove files that are not actually duplicates. This could lead to permanent data loss of files.
For users with no duplicates but who want to try out this tool anyway, or if you want to try a test with some known duplicate files, you can use the “Duplicate Exactly” function in Mac OS with a file and then run DupeGuru where that file is contained. It’s a good way to see how the app works.
* You may need to right-click and choose “Open” to bypass the Gatekeeper unidentified app warning in Mac OS, depending on what your app security settings are.
** Technically, you could choose to select an entire hard drive, but aside from the scan taking a very long time, it’s also much more likely to result in erroneous duplicates found and potentially lead to problems, for example a common library may be found in multiple apps and removing it may break those apps functionality, or for another example it’s possible you intentionally have duplicate copies of a picture (or from Photos app) and removing them could be a mistake. Thus it’s best to select specific user folders, do not scan an entire drive unless you are are an advanced user and unusually detail focused.
There are other ways to find duplicates on a Mac, and dupeguru offers just one option. You can also find duplicate songs in iTunes, the Photos app, or by using various Finder search parameters you can find files with duplicate names which can help track down copies as well.
DupeGuru continues to work for now although it is apparently no longer actively maintained, but it’s on Github and open source, so if you’re a developer and feel like picking up the cause, have fun.
Do you have a preferred method or app for tracking down duplicate files on the Mac? Let us know in the comments below.
Follow Me:
Top Best Sellers!!


