How to Fix a Broken Ethernet Connection on Windows 11
Revive the Ethernet connection.
Quick Links
- Run the Network and Internet Troubleshooter
- Preliminary Checks
- Check if the Internet Is Working
- Test the Ethernet Connection on Another Device
- Ensure the Ethernet Cable or Port Isn’t Faulty
- Rule Out Issues With Your Router
- Ensure the Ethernet Connection Is Enabled
- Update or Reinstall Ethernet Adapter Drivers
- Disable Proxy Server Over LAN
Key Takeaways
- Connect your device to the internet via Wi-Fi to ensure your internet connection is active. Then, test the Ethernet connection on another device to eliminate any potential issues with your router or Ethernet cable.
- Run the Network and Internet troubleshooter. Go to Settings > System > Troubleshoot > Other Troubleshooters, and click on the “Run” button next to Network and Internet.
- If you’re using a proxy server, turn it off. Open the Internet Options window, go to the “Connections” tab, and click “LAN Settings.” Uncheck the box beside “Use a Proxy Server for Your LAN.”
Is the Ethernet connection not working on your Windows PC? If so, your problem could be anything from your Internet Service to your PC’s ethernet card. Below are some potential solutions you can try to resolve this issue.
Run the Network and Internet Troubleshooter
Begin troubleshooting by running the built-in Network and Internet troubleshooter, which can help pinpoint and resolve potential issues with your Ethernet connection.
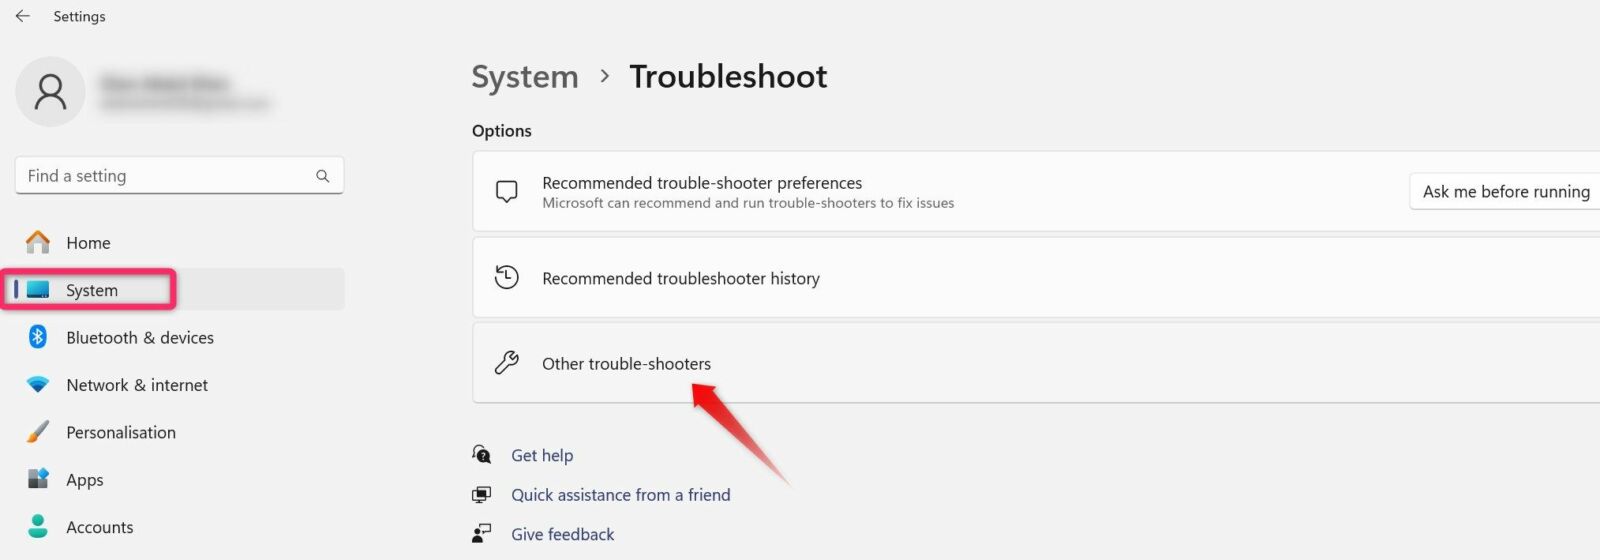
To run it, right-click the Start button and select “Settings.” Then, navigate to the “System” tab on the left and open the “Troubleshoot” settings from the right pane. From there, navigate to “Other Troubleshooters.”
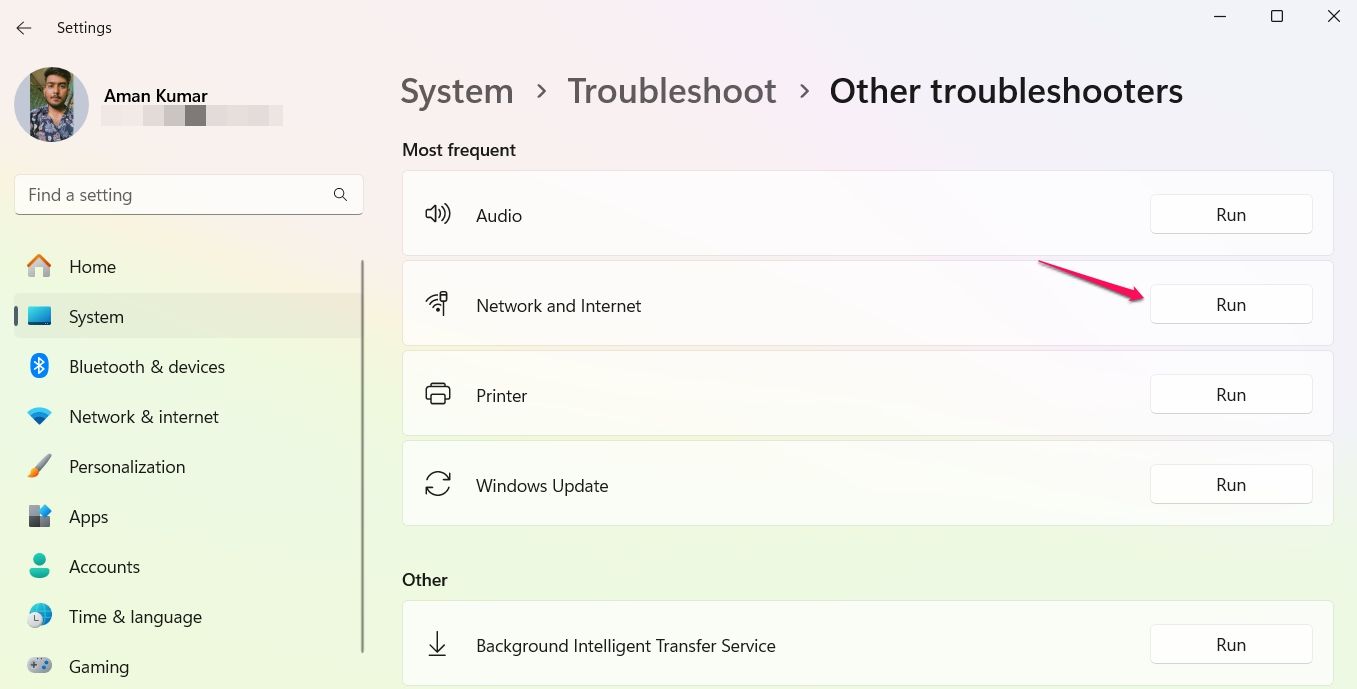
Next, click the “Run” button next to Network and Internet. Follow the on-screen instructions in the Get Help app to identify and fix the problem.
Preliminary Checks
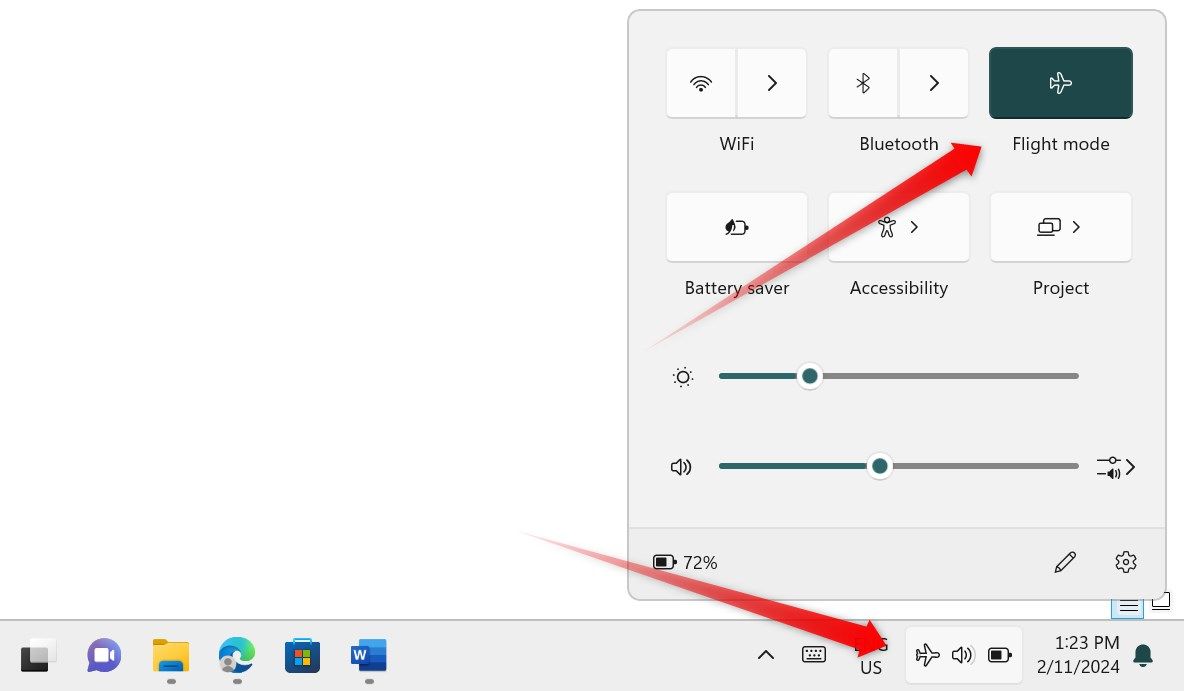
If the troubleshooter doesn’t identify any problems, you should perform some basic checks manually. First, verify that airplane mode is disabled—click on the Wi-Fi icon in the taskbar and check that Flight (otherwise called Airplane) Mode isn’t enabled. If it’s already off, restart your computer to fix any temporary operating system issues affecting the Ethernet connection.
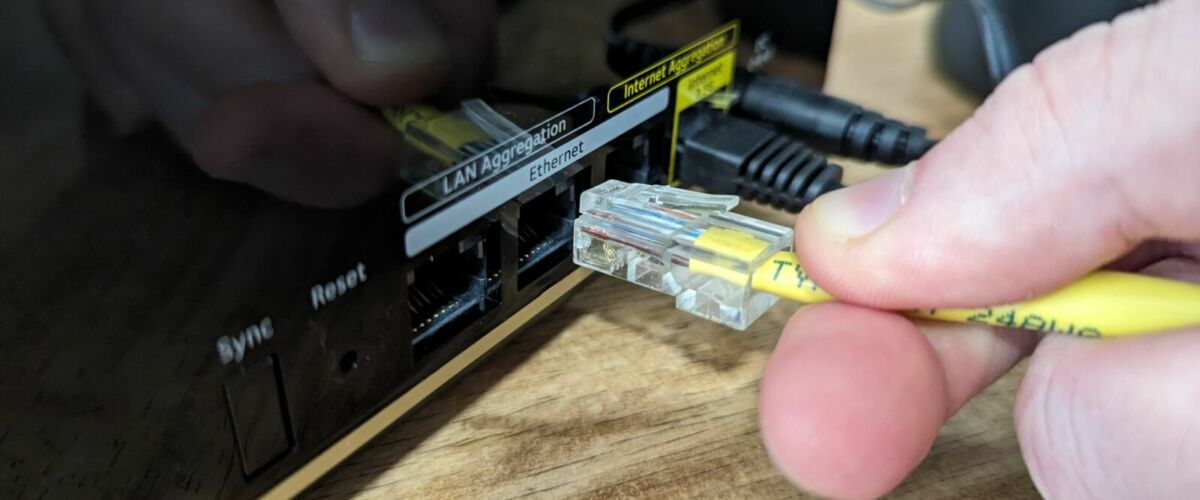
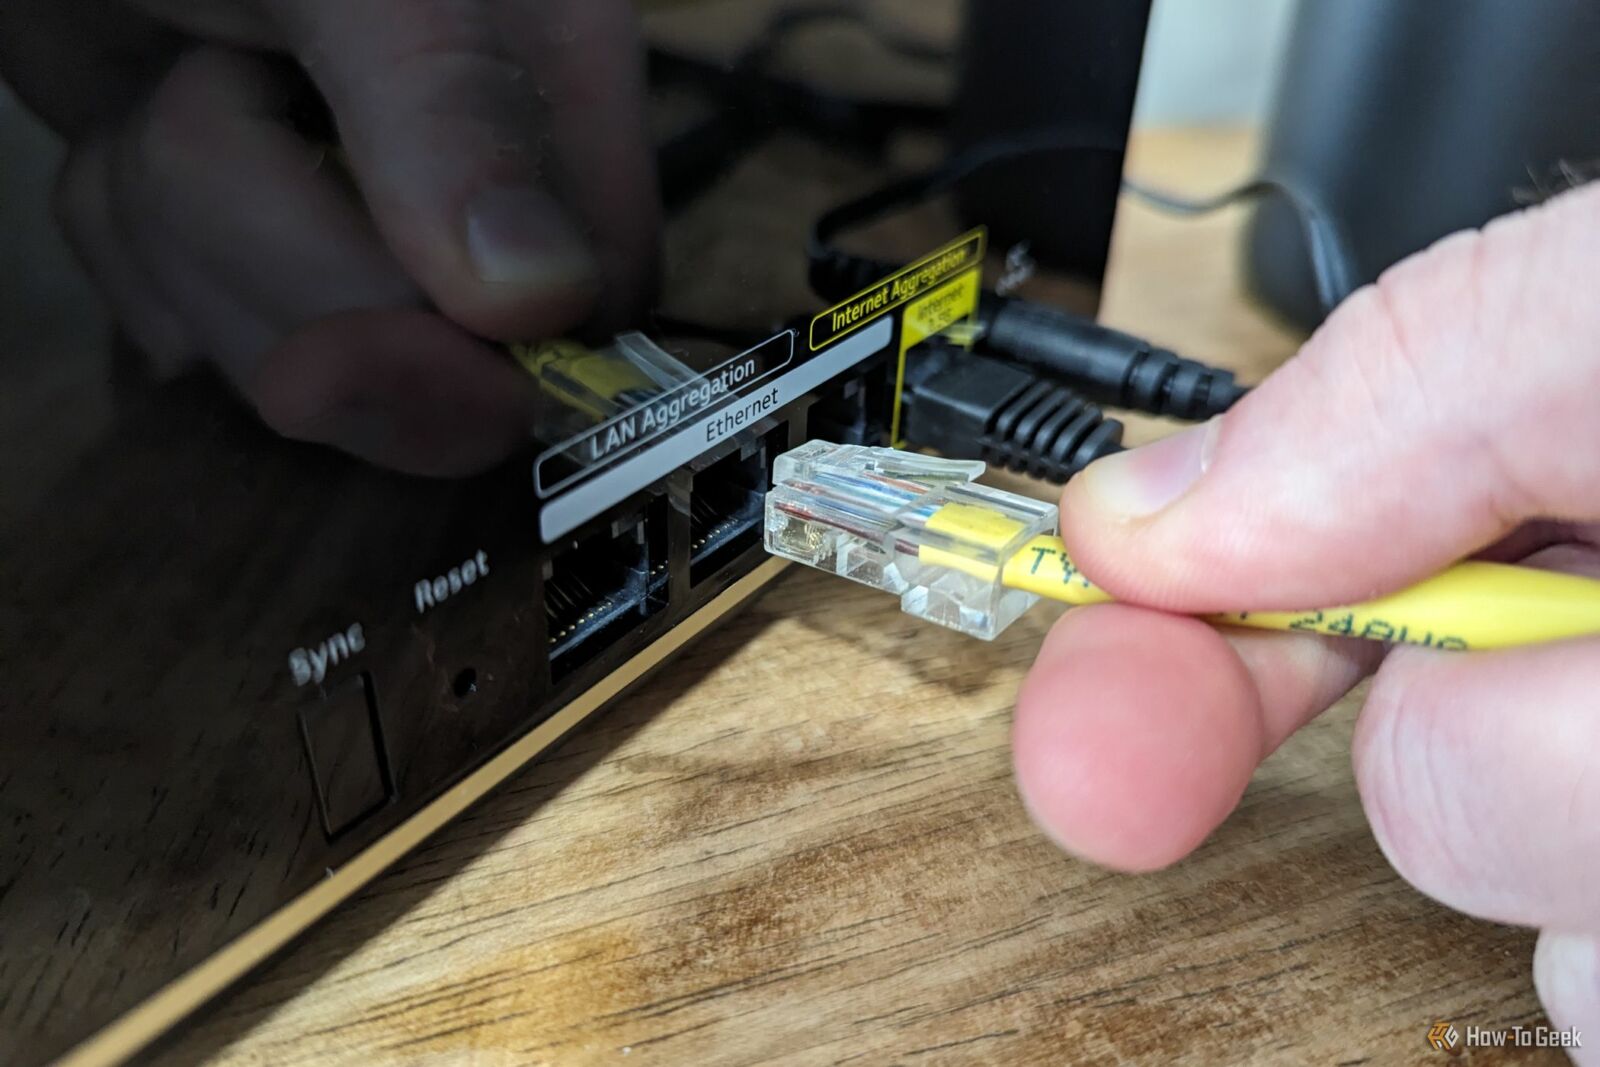
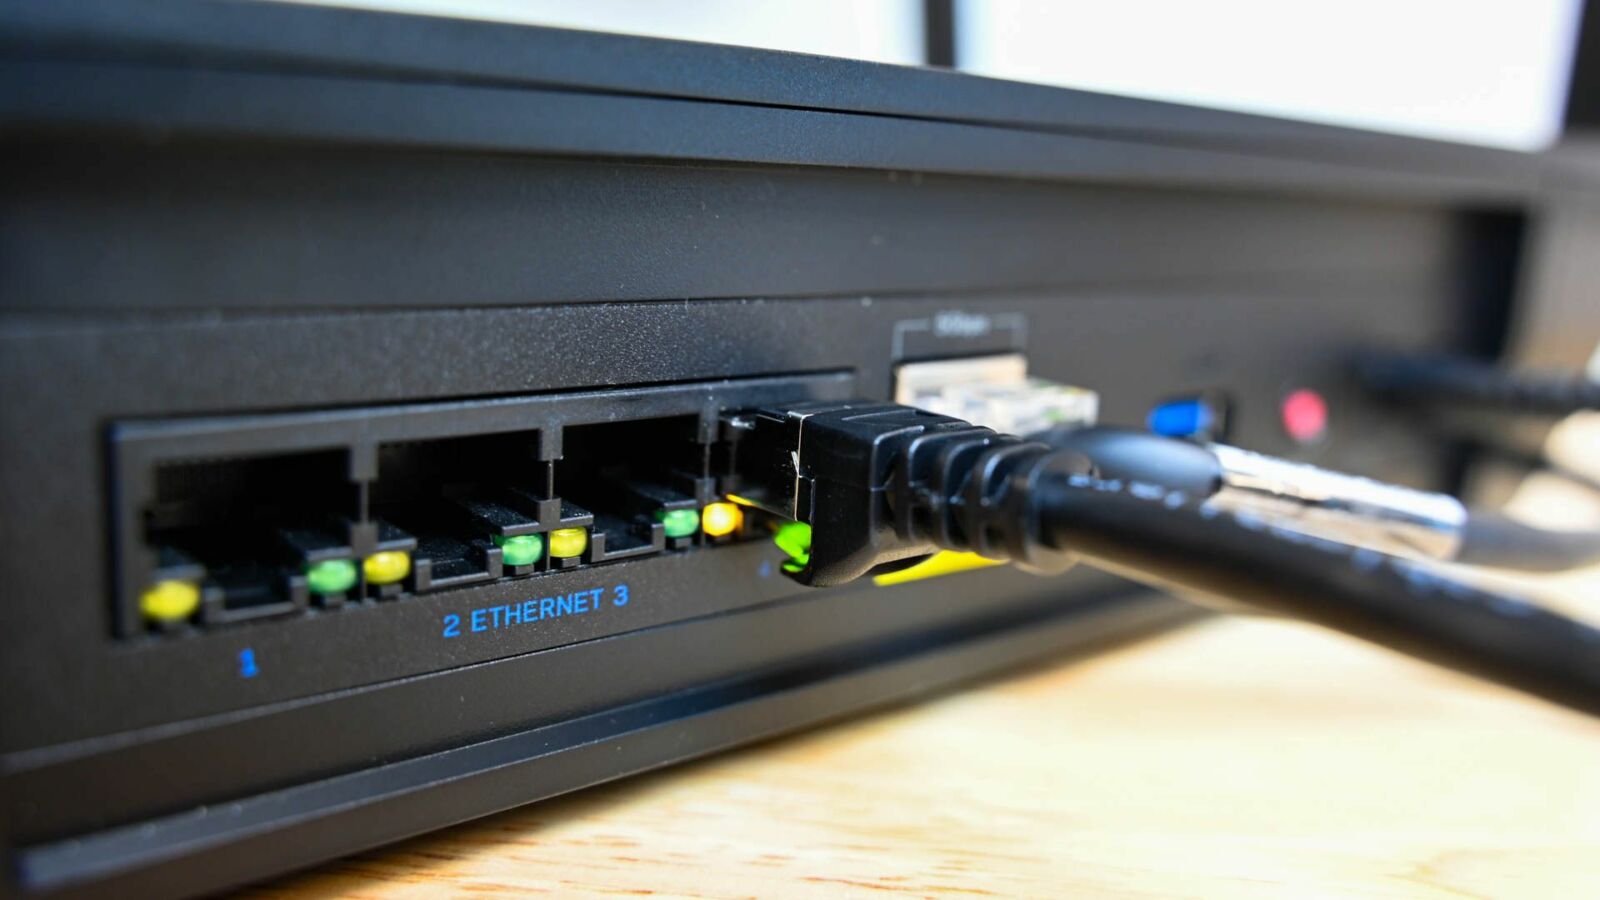
Next, ensure your Ethernet cable is correctly plugged in. Also, confirm that the cable is connected to the correct port on your router. You can also try unplugging and re-plugging the Ethernet cable at both ends (router and PC) to see if it makes a difference. Also, if you have a VPN connection enabled on your device, turn it off.
If these basic troubleshooting steps do not resolve the issue, you can apply the remaining solutions listed below.
Check if the Internet Is Working
Connect your device to the internet using Wi-Fi to see if it’s functioning correctly. Even using another device, like a cellphone, on the same network is usually enough to determine where the problem is. If you encounter issues connecting to Wi-Fi, it indicates an issue with your internet connection. So, ensure that your Internet Service Provider (ISP) isn’t experiencing any outages and that your router is powered on. If neither of those are your issue, there are a variety of internet troubleshooting steps you should try.
If you can successfully connect to the internet via Wi-Fi, your internet connection is active, and the problem likely lies with your device’s Ethernet connection.
Test the Ethernet Connection on Another Device
To ensure that the problem doesn’t stem from your faulty router hardware, a damaged Ethernet cable, or misconfigured router settings, test your Ethernet connection on another device (if available). Connect your Ethernet cable to a different device and check if the connection works properly.
If the connection works on the other device, it suggests that the problem may be with your device settings. In this case, you can proceed directly to the device-specific fixes outlined in the last three headings. However, if the connection does not work on the other device, ensure the problem isn’t with the Ethernet cable, port, or router.
Ensure the Ethernet Cable or Port Isn’t Faulty
Start troubleshooting the Ethernet connection issue by carefully inspecting the Ethernet cable. Examine the cable thoroughly from end to end to ensure it’s not damaged. Besides obvious breaks in the wire, you should keep an eye out for very sharp bends, subtle slices, or tears in the exterior sheathing—any of those could result in a nonfunctional Ethernet cable. Also, check both ends of the cable to ensure the connectors are in good condition and that their internal wires are properly seated and not falling out.
If the Ethernet cable and its connectors are in good condition, check the ports where the cable is plugged into your router or PC for any obvious signs of damage. Connect the cable to a different port on your PC (if one is available) to confirm whether the PC port is working properly. Then, try plugging the cable to a different port on your router. If changing the ports does not resolve the issue, try the next fix.
Rule Out Issues With Your Router
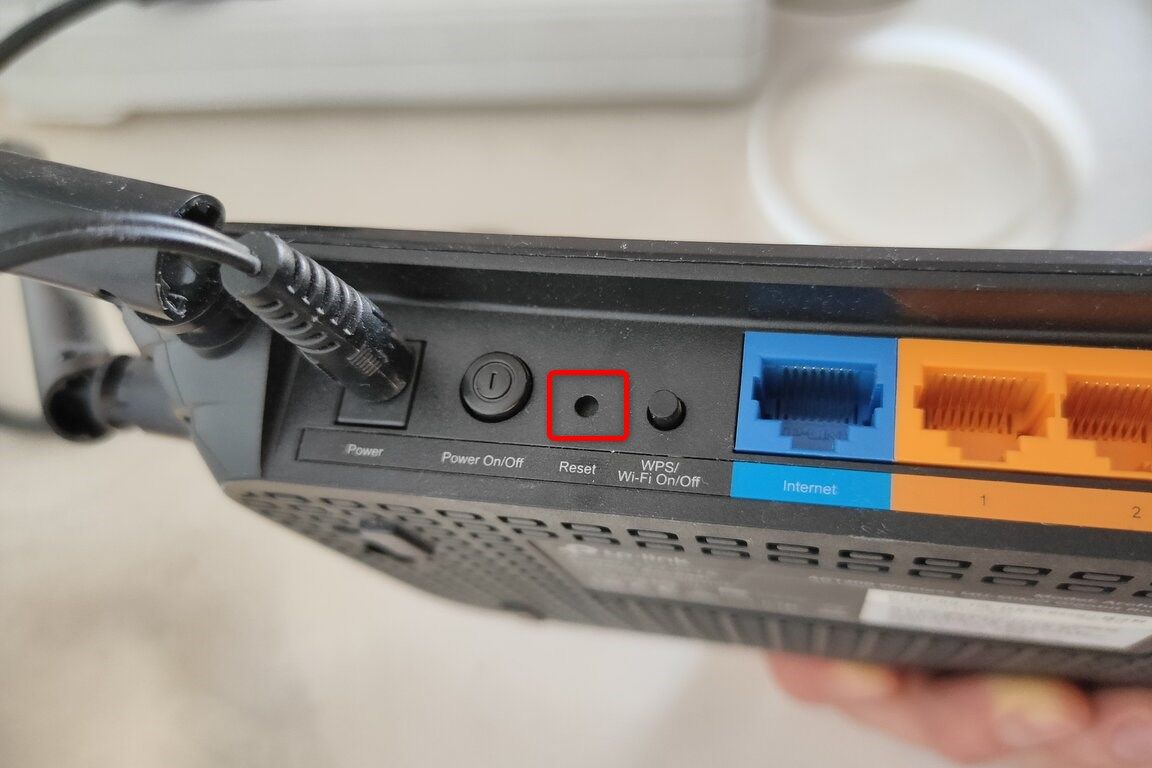
Take a few simple steps to ensure that a problem with your router isn’t causing issues with your Ethernet connection. First, reboot your router to clear its memory, terminate all tasks, and reload the router’s operating system (or firmware). To do this, disconnect the router from the power source, wait for 10 to 30 seconds, then plug it back in and turn it on.
If you’re up to it, you can log into your router’s admin interface and confirm that your device isn’t blacklisted. If all else fails, you can completely reset your router settings to ensure that misconfigured settings aren’t causing the problem.
Ensure the Ethernet Connection Is Enabled
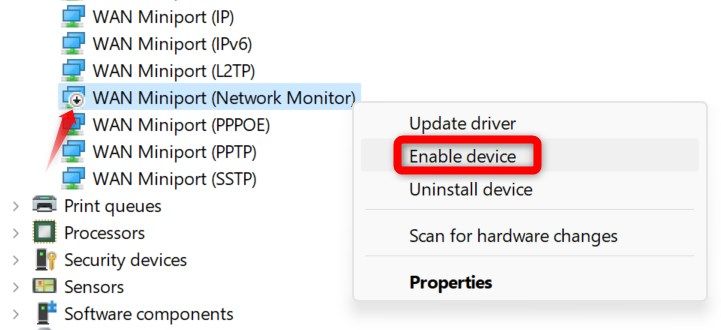
If the Ethernet connection works properly on other devices but not on a specific device, ensure the connection isn’t disabled on that device. Right-click on the Start button and select “Device Manager.” Then, expand the “Network Adapters” category. Locate your Ethernet network adapter and check if you see a small arrow pointing downward beside its name.
If you see this arrow, it means the Ethernet connection is disabled. To enable it, right-click on the network adapter and choose “Enable Device.”
Update or Reinstall Ethernet Adapter Drivers
Outdated drivers can also cause problems with the Ethernet connection. To ensure this isn’t the case, you should update the Ethernet adapter drivers. Download the latest drivers from the website of your device manufacturer—if you have a prebuilt, you’re looking for the same brand as your PC. If you built your own PC, you should check your motherboard manufacturer’s website. If the driver comes in an executable format, just run it to install it. Otherwise, you must manually update the driver from Device Manager.
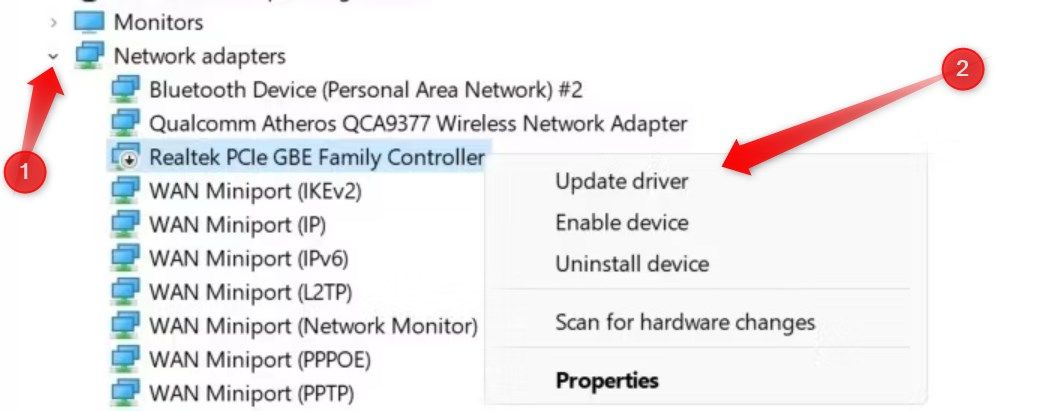
To do this, right-click the Start button and select “Device Manager.” Expand the “Network Adapters” category, right-click the Ethernet adapter driver, and select “Update Driver.”
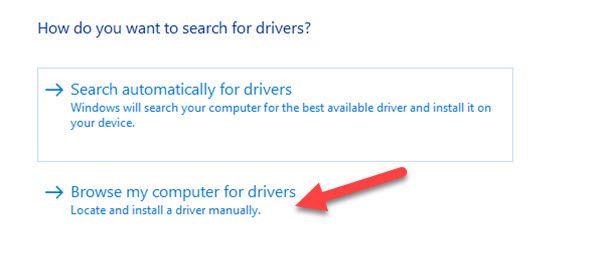
Select “Browse My Computer for Drivers,” then select the downloaded driver file from the Downloads folder and let Windows update it.
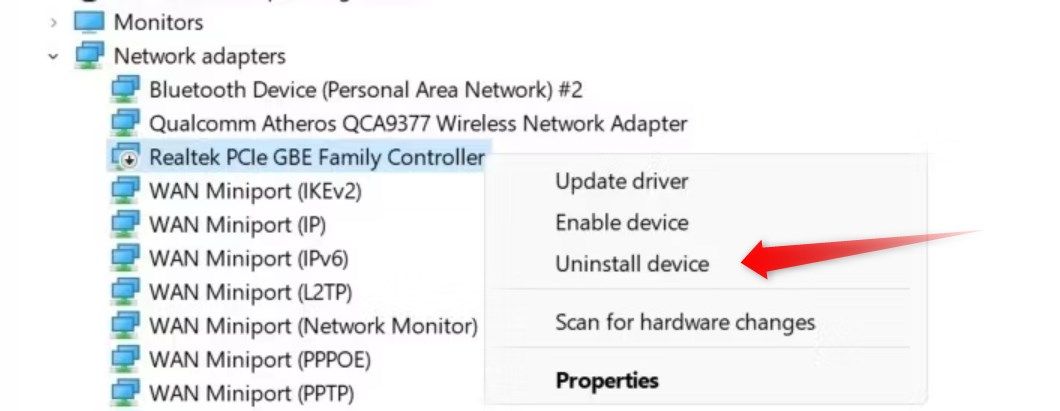
If updating the driver doesn’t resolve the issue, uninstall the driver from Device Manager. Right-click on the driver and select “Uninstall Device.”
Then, follow the previous instructions to reinstall it manually.
Disable Proxy Server Over LAN
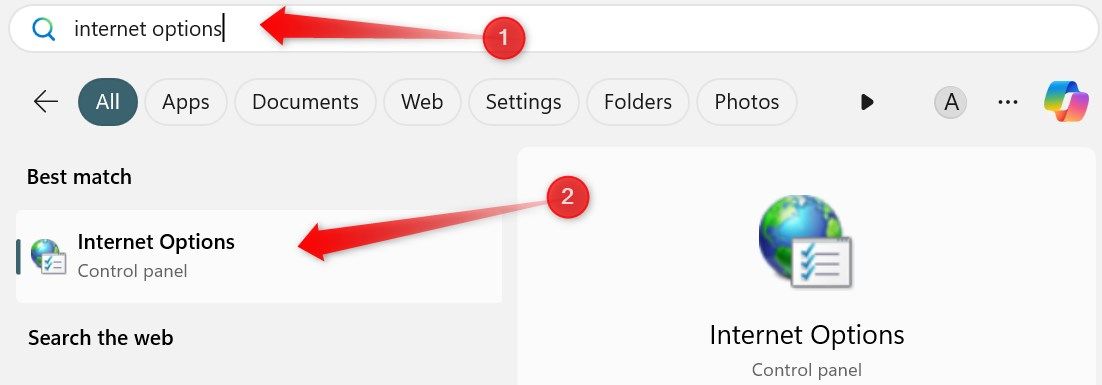
Using a proxy server over a LAN might be the cause of the issue at hand. If you’re using a proxy server, you should turn it off. Type “Internet Options” in the Windows Search bar and open it.
Then, move to the “Connections” tab and click the “LAN Settings” button. If the box beside”Use a Proxy Server for Your LAN” is checked, uncheck it to turn off the proxy server. Click “Apply” and hit “OK.”
The solutions outlined above should help you resolve the issue with your Ethernet connection and restore internet connectivity. However, if none of the suggested fixes work, your final option should be to report the problem to your internet service provider (ISP) and request their assistance in diagnosing and resolving it.
“Tech Bargains Galore: Where Innovation Meets Affordability!”

