You may want to hide a file or folder on your Windows 10/11 PC for various reasons. You might want to hide a file/folder to avoid others from viewing it, avoid deleting it by accident, or just to organize files/folders.
Luckily, you do not need a third-party app to hide a file or folder in Windows 10/11. File Explorer lets you hide files and folders with ease.
NOTE 1: File Explorer in Windows 10/11 does not let you password-protect a file or folder. It lets you only hide a file or folder.
NOTE 2: When you hide a file or folder, it does not appear in the File Explorer unless configured to show hidden files and folders.
NOTE 3: If you wish to lock a file or folder with a password, please use third-party utilities such as Folder Locker. For more information, refer to our five free folder locker software for Windows guide.
Hide a file or folder in Windows 10/11
Step 1: Open the File Explorer and navigate to the folder containing the file or folder you want to hide.
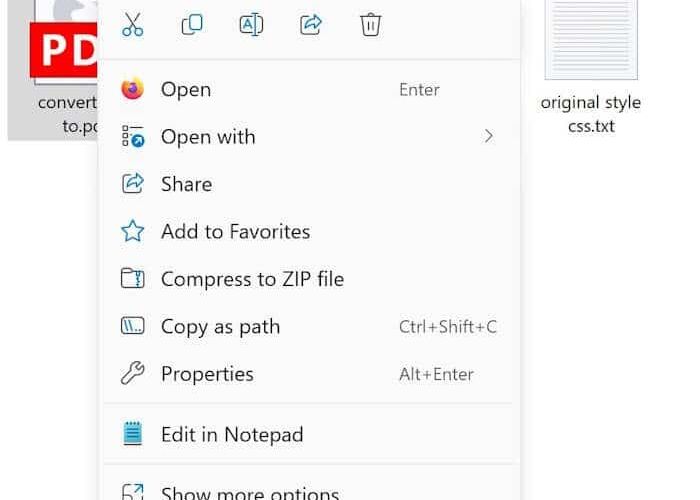
Step 2: Perform a right-click on the file or folder you want to hide and click Properties. This action will open the file properties dialog for the selected file.

Step 3: Under the General tab, select the Hidden box and then click the Apply button. That’s it!

If you have selected a folder with several files and folders within it, you might get the following prompt where you need to decide whether you want to hide the selected folder only or hide the selected folder, subfolder, and files. Depending on your requirement, select an option and then click the OK button.

Step 4: The hidden file or folder should not be visible now. If the file or folder still appears in the File Explorer, it’s likely because it has been configured to show hidden files and folders. You need to change this setting so that it does not show hidden files and folders.
Do not show hidden files and folders in File Explorer
Step 1: Open the File Explorer Options using search.
Step 2: Under the View tab, select the Don’t show hidden files, folders, and drives radio button. Click the Apply button.

Unhide a file or folder in Windows 10/11
Since the hidden files and folders are not visible with the default File Explorer settings, we need to change the default settings to show hidden files and folders so we can view them. Once visible, we can alter the file/folder’s properties to remove the Hidden attribute. Here is how.
Step 1: Open the File Explorer Options dialog through search.
Step 2: Switch to the View tab. Select the Showhidden files, folders, and drives option before clicking the Apply button to configure the File Explorer to show hidden files and folders.

Step 3: Navigate to the location where the file or folder you want to unhide is located. You can easily distinguish a hidden file from others as the color of the hidden file or folder icon is lighter than that of non-hidden files.
Right-click on it and then click Properties.

Step 4: Under the General tab, uncheck the Hidden box and then click the Apply button. That’s it!


