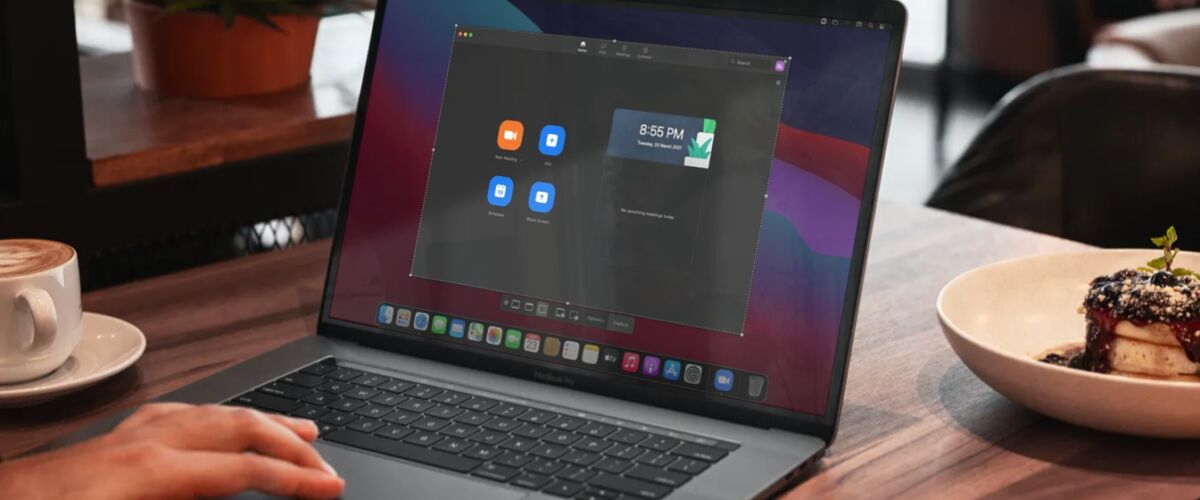

Are you looking for a way to record your Zoom meetings? Perhaps, you want to save a recording of a corporate meeting, or your online lectures for later while you’re studying, or you’re just trying to keep a copy of an important meeting? You’ll be pleased to know that there are multiple ways to record video of Zoom meetings, using either a Mac or Windows PC.
Zoom offers a built-in recording feature for video calls, but this particular feature is limited to a certain extent to maintain user privacy. A local recording can only be initiated during a meeting if you’re the host or if you get permission from the host. If you don’t have the necessary permissions, you’ll have to look at alternate measures like the screen recording tools that are baked into macOS and Windows.
.
How to Record a Zoom Meeting Using the Zoom Built-in Recording Feature
This will require you to be either the host of the meeting or acquire the recording permission from the host. Once you have the necessary permissions, just follow these steps regardless of whether you’re using Mac or Windows:
- While you’re in the active Zoom meeting, you’ll see the “Record” option at the bottom menu as shown below. You can simply click on it to initiate the recording.


- Once the recording begins, you’ll have the option to either Pause or Stop the recording whenever you want as shown below.


As you can see, it’s really easy to start a recording as long as you have the permissions. If you’re a paid subscriber to the service, you’ll have the option to use the Cloud Recording feature when you click on the Record button. Free users are limited to local recordings.
How to Record Zoom Meeting Using Mac Screen Recording
Just like Windows 10, macOS has a built-in screen recording tool that you can use to record your Zoom meetings without any permission from the host. Just follow these steps once you’re in a Zoom meeting on your Mac:
- To access the built-in screen recorder on your Mac, press the “Shift + Command + 5” keys on your keyboard.


- Now, you can either choose to record the entire screen or just a selected portion of the screen using the options that are indicated in the screenshot below.


Once you end the recording, you’ll see a thumbnail of the recorded clip at the bottom-right corner of your screen for a few seconds. You can click on it to open and even edit the recording, if needed.
How to Record Zoom Meeting with Windows Capture
If you’re using a Windows 10 PC, you can follow these steps to record your Zoom meetings even if you don’t have the permission to record the call. This is basically just a screen recording feature that’s baked into Windows. Here’s what you need to do:
- First, you need to make sure that Xbox Game Bar is enabled on your computer. Type “Enable Game Bar” in the Windows search bar and you’ll have access to the following menu. By default, this feature is enabled on Windows 10. Take note of all the keyboard shortcuts that are listed in the menu, as they’ll be helpful while you’re recording.


- Once you’re in an active Zoom meeting, press the “Windows + G” keys to bring up the Xbox DVR on your screen. You’ll see Capture controls at the top-left corner of your screen as shown below. Here, simply click on the Record option to begin/end the recording. Once you’re done recording, you can click on “Show all captures”.


- This will launch the File Explorer and give you access to the recorded video files which you can now watch or move to a different location, if necessary.


There you go. Alternatively, you can skip Step 2 by using the keyboard shortcut “Windows + Alt + R” which quickly starts a screen recording session. You can press these keys once again to stop the recording.
There you go. Now you know all the different ways to record your Zoom video calls. From now on, you don’t have to rely on someone to get the recording permissions since you can use the screen recording tools that are already available on your computer. Of course, you can use third-party software to record your screen too.
Keep in mind that you should never record a Zoom meeting without permission, and in some jurisdictions it may not even be legal to do so without permission, so you’ll want to make sure you get permission first just to be safe.
If you use an iPhone or iPad, you can use the built-in screen recorder on iOS and iPadOS to record your Zoom meetings without host permission too. Just open the Zoom app first, join an active meeting or host one and then access the tool from the Control Center.
We hope you were able to learn how to record Zoom meetings regardless of whether you have permission or not on all your devices. Which of these methods do you use the most for recording your video calls? Do you have any additional methods to share? Let us know in the comments section down below. Feel free to leave your valuable feedback too.


