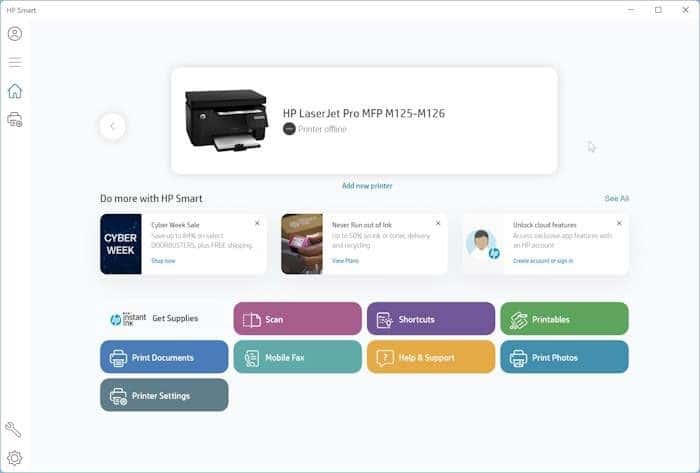
Many news websites report that Microsoft is reportedly auto-installing the HP Smart app on many Windows 10 and 11 computers without user consent. Besides that, the HP Smart app was installed even on computers that do not have a connected HP printer or scanner.
What is the HP Smart app?
HP Smart is a free app from HP designed to help HP printer and scanner users change printer and scanner settings. Additionally, the HP Smart app also lets you view various information about the printer, such as ink level, the number of pages the printer has printed so far, and the number of pages the printer can print with the remaining ink. Of course, it also lets you diagnose and fix HP printer/scanner issues.
If the HP Smart app was installed without your consent or you no longer use an HP printer/scanner, you can uninstall and remove the HP Smart app just like other apps via the Settings app.
This guide shows you how to uninstall and remove the HP Smart app from Windows 10/11 installation.
Uninstall and remove HP Smart app from Windows 10/11
Step 1: On a Windows 10 PC, go to Settings > Apps > Apps & features page. If you are on Windows 11, navigate to Settings > Apps > Installed apps page to see a list of all installed apps on your computer.
Step 2: If you are running Windows 10, click the HP Smart app’s entry to see the Uninstall button. Click the Uninstall button and then click the Uninstall button again when asked for confirmation to uninstall and remove the HP Smart app from your Windows 10 computer.
On Windows 11, click the three dots next to the HP Smart app’s entry (refer to the picture) and then click the Uninstall option. When asked for confirmation, click Uninstall. That’s it! The HP Smart app should now be uninstalled and removed from your Windows 11 installation.
Install the HP Smart app on Windows 10/11 PC
Step 1: Launch the Microsoft Store app.
Step 2: In the Store app, search for the HP Smart app and then click the Get/Install button to download and install the latest version of the HP Smart app.


